

-
Product Reviews

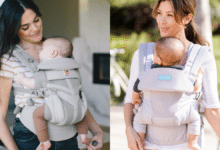
Is The Artipoppe Zeitgeist Worth the $5400 Price Tag?
I've had a number of people ask me my thoughts on the Artipoppe Zeistgeist lately and most importantly do I think it's worth the $550-$5400 Price Tag?
-

-
-
-
-
-


-
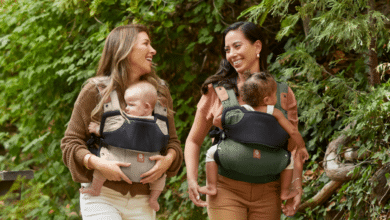
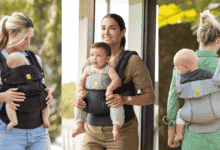
Best Baby Carriers
Best Baby Carriers Australia 2022
If you've ever come across my Youtube channel you're probably already aware that my personal mission in life is to make babywearing safe, comfortable and approachable for new parents.
-
-
-
-
-
-


-
0:57

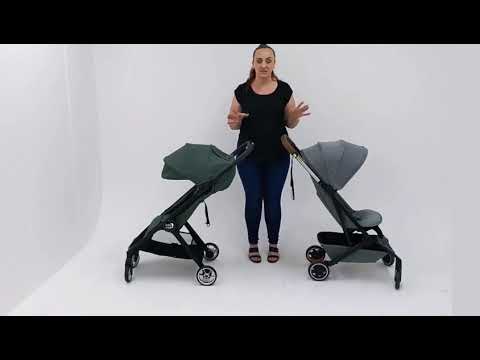
Joolz Aer+ Limited Edition Renaissance Chic review
-
02:48
Does the Joolz Aer+ have a full recline?
-
06:44
Joolz Geo2 VS Joolz Geo3 - All the updates with the new model!
-
02:50
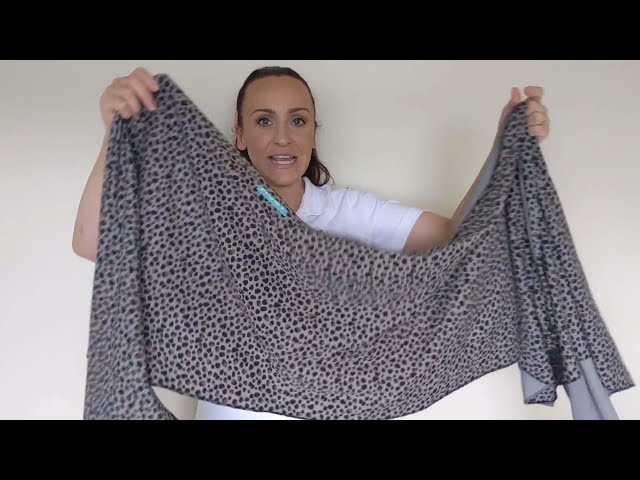
Moby Easy Wrap - How to avoid losing or pulling through the ends
-
01:20
Joolz Aer+ Folding with the Joolz Aer+ Footboard
-
01:32
Joolz Aer+ Cot compared to Original Joolz Aer Cot
-
01:30
How to Fold the Joolz Aer+ stroller
-
01:13
Does the Joolz Aer+ Bumper Bar Fold On the Joolz Aer?
-
01:45
Which Joolz Aer+ Accessories fit the Joolz Aer stroller? (and Vice Versa!)
-
01:00
Joolz Aer+ Vs Joolz Aer at a glance
-
04:34
Joolz Aer+ vs Joolz Aer - What are the upgrades with the new model?
-
0:50
How to fold the Joolz Geo3 Mono - Quick Demo
-
0:50
How to fold the Joolz Geo3 Mono - Quick Demo
-
07:34
Joolz Geo3 Mono Full Review
-
0:39
City tour 2 seat fabric
-
02:59
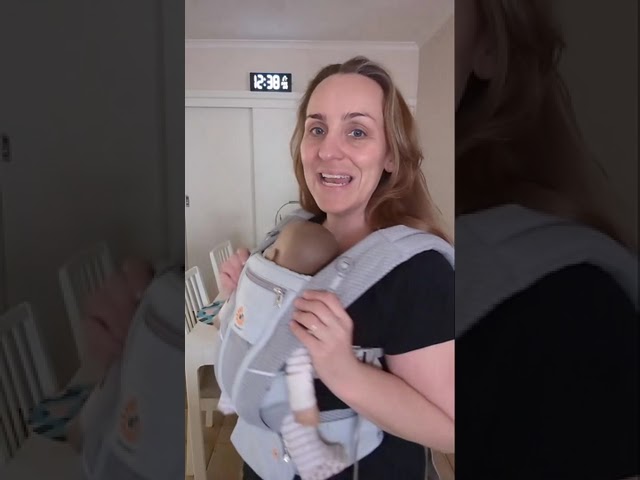
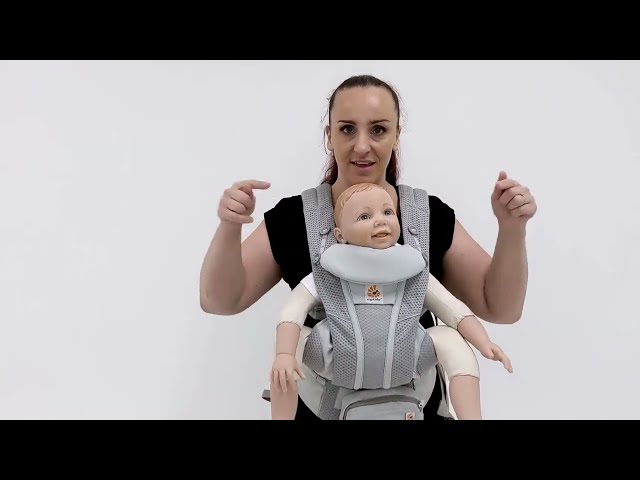
How to put on an Ergobaby Omni carrier (and hold baby at the same time!)
-
0:57
Joolz Geo3 Mono to Duo
-
04:41
Joolz Geo3 Double Configurations - How Does it Work?!
-
0:40
Ergobaby Omni Breeze - Tip #6 Tidying up loose/dangling straps
-
0:52
Ergobaby Omni Breeze - Tip #6 Tightening the shoulder straps
-
02:56
Ergobaby Omni Breeze VS Tula Explore Coast
-
02:39
How to put newborn twins in a wrap
-
0:58
Ergobaby Omni Breeze - Tip #5 What to do with the head support?
-
0:59
Ergobaby Omni Breeze - Tip #4 The Tshirt Method
-
0:55
Ergobaby Omni Breeze - Tip #3 Positioning Lumbar Support
-
01:00
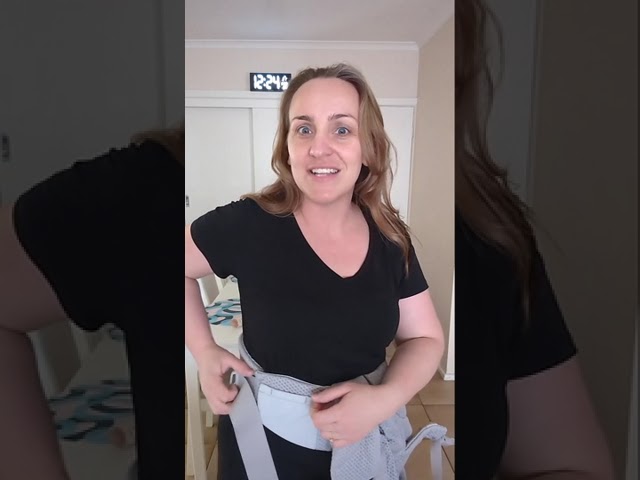
Ergobaby Omni Breeze - Tip #2 Adjusting Centre Strap
-
01:22
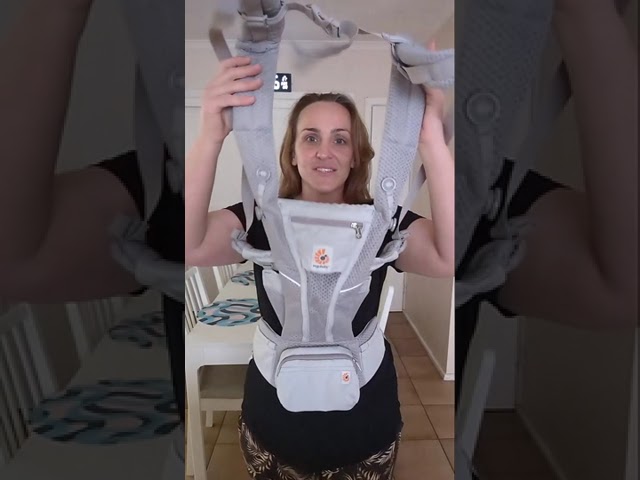
Ergobaby Omni Breeze - Tip #1 Getting Started
-
08:48
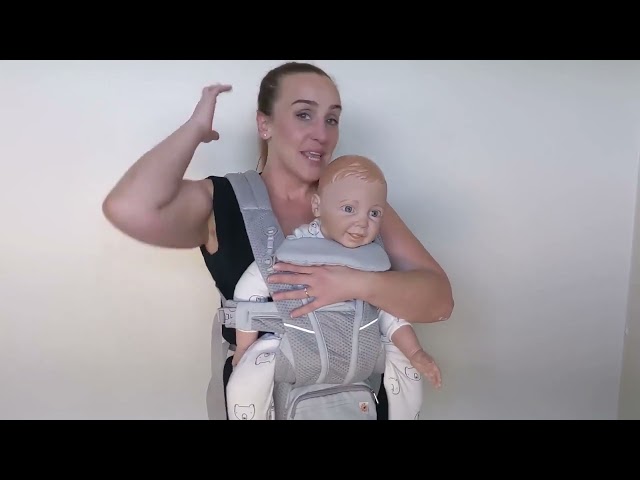
Ergobaby Omni Breeze - Tips and Tricks
-
04:28
LILLEbaby Complete Carrier - Back Carry Demonstration (One Year Old)
-
05:58
Ergobaby Omni Breeze - How to do Forward Facing
-
05:23
Why the Ergobaby Omni is the BEST carrier for Forward Facing
-
0:48
Walking with a Joolz Aer Footboard
-
04:43
Baby Jogger City Tour 2 Stroller Review
-
05:54
Baby Jogger Tour 2 VS Joolz Aer
-
04:38
How to Fold the Baby Jogger City Tour 2
-
03:33
LILLEbaby Newborn Pillow
-
03:23
Baby Jogger Summit X3 To to Attach Bassinet and Capsule
-
03:08
Baby Jogger Tour 2 Double vs GT2 Double
-
04:47
How to Fit a LILLEbaby Carrier
-
04:45
LILLEbaby Complete Original Review
-
07:49
Boba X Baby Carrier Review and Demonstration
-
07:33
Boba Wrap Review and Demonstration
-
04:33
Boba X / Boba Air - How to Back Carry
-
04:51
Boba Air Review and Demonstration
-
05:56
Ergobaby Omni Breeze VS LILLEbaby Airflow DLX
-
04:55
LILLEbaby Complete Range - Complete Original VS Airflow VS All Seasons
-
05:56
Moby Classic Wrap Newborn Demonstation
-
04:34
How to Breastfeed in the Moby Fit
-
01:43
Folding The Baby Jogger City mini GT2, City Mini 2 & Elite 2
-
04:36
Baby Jogger City Mini 2, City Mini GT2 and Elite 2 Comparison and Review