Boiling Water Homemade Playdough
I’ve engaged in many “cook vs no cook homemade playdough recipe” debates.
(Yes, such a thing exists and can be quite divisive! I used to be an Early Childhood Educator. Obviously debates about playdough don’t really take place in normal lives.)
On the one hand cooked homemade playdough generally lasts longer, it’s more flexible and has a smoother texture because the heat helps dissolve the salt – but it involves using a stove top which doesn’t suit a child-friendly environment. Making playdough WITH children extends the activity and provides a learning opportunity, rather than just providing them with playdough you whipped up in the kitchen
Which is why uncooked homemade playdough is a great option – it’s quicker to make, can be mixed by children and there is no cool-down time before you can let them just go for it and get their hands in it!
Now for the GAME CHANGER
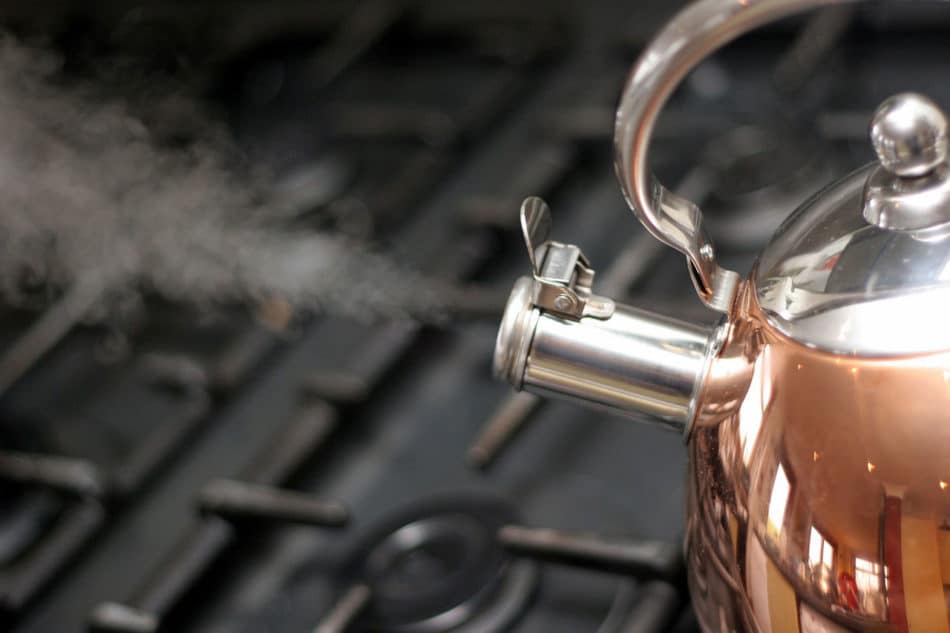
Just add freshly boiled water instead of cooking it on a stove top.
Obviously this is something that an adult is going to have to do – however it’s something you can do in front of children, so at least they get to witness the magic happening.
And boiling water playdough does reach a touchable temperature almost right away while having the benefits of a stove-top playdough. WIN-WIN!
BOILING WATER HOMEMADE PLAYDOUGH
Ingredients: (These are the same as a stove top playdough recipe)
- 1 cup of flour
- 1/2 cup of salt
- 2 tablespoons cream of tartar
- 2 tablespoons cooking oil
- 1 cup of BOILING WATER
- Food colouring
Method
Combine the dry ingredients in a large mixing bowl. Dig a little well, or hole, in the middle and add in the cooking oil, followed by the freshly boiled water (KEEP LITTLE HANDS CLEAR!)
Stir the mixture immediately and keep stirring! It’ll look like a wet, gluggy, clumpy mess, but bear with me – keep stirring. It’ll be okay. It should come together nicely within about a minute.
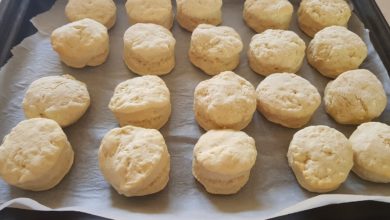
When it’s come together into a very soft dough turn out onto a well floured bench and knead. (Check the temperature yourself before allowing children to knead it themselves).
Add more flour to the bench as required until the dough isn’t tacky.
To add colour divide the dough into balls, and poke a hole with your finger into the centre of each ball. Add a couple of drops of food colouring into the hole and gently roll (avoid applying too much pressure as the food dye can “squirt” out of it’s hole if you’re not careful). Repeat until depth of colour is achieved.
You can also add scents if you like. I prefer to use a food grade flavouring, like peppermint or vanilla essences – JUST IN CASE it’s eaten by a child. Though the argument against that is if it smells like food they’re more likely to eat it. #MoreControversy.
*NOTE if you’re adding drops of liquid colour and scent you may need to balance the moisture with more flour.
Store in a sealed container in the fridge. In theory homemade playdough can last months, however in my experience it usually gets manky and gross within a week or so at home. (Or a few hours in a childcare setting.)
In conclusion – boiling water playdough is the only kind I make nowadays. AND I hope that settles this debate once and for all!