How to make a Pocoyo Fondant Cake Topper
My littlest asked for a Pocoyo cake for her birthday – and after an extensive internet search I could not find any tutorials on how to make it. SO, not only did I have to wing it, but I also documented my process so I could create a tutorial for future Pocoyo cake topper making.
It’s a little bit the blind leading the blind but bare with me – or if you have any ideas on how to improve this then that would be fabulous!
You Will Need

When I’m making fondant figures the cheapest way I’ve found is to buy a multi-pack of coloured fondant (yellow, red, blue, and black are essential) and a 500 gram white fondant for mixing (and for eventually using on the rest of the cake). These are found at both Woolworths and Coles in the baking isle.
A few very basic tools that come in handy are skewers, and/or toothpicks (toothpicks for later to stablise the topper), small rolling pin and a very small (clean) paint brush and a cup of water. Also Icing sugar or corn flour on hand for dusting the word surface and your hands if things get sticky.
I tend to make my topper a few days ahead of time so it has a chance to get a little bit hard. I set it on the inside of a lid so I can place the container over the top to keep it safe!
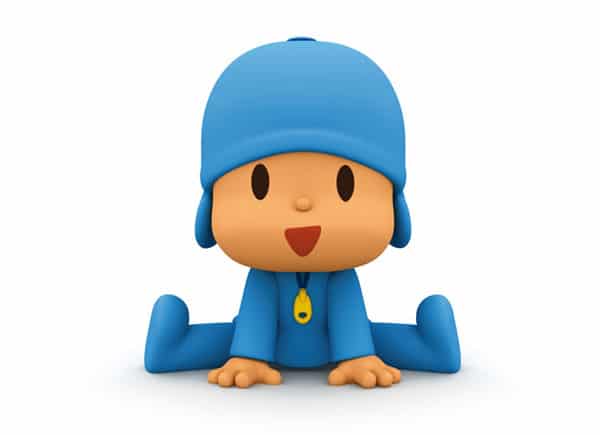
ONE more thing to help with this project is get a picture of Pocoyo to use as a reference. I used this image because he’s sitting down and so will be the most stable!
LETS GET STARTED!
Step 1
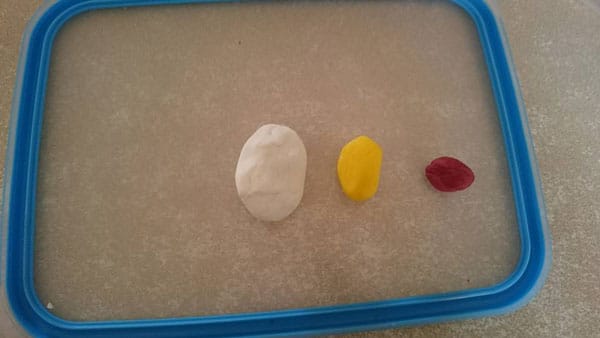
Firstly mix up a ball of Pocoyo’s skin tone. You’ll need white, yellow and red fondant, in approximately the ratio pictured (I pretty much nailed it first up!) Mix the yellow and white together first and then add small amounts of red – a pinch at a time – because it’s very easy to add too much red! I made my Pocoyo’s skin tone slightly lighter than appears in the picture above.
Step 2
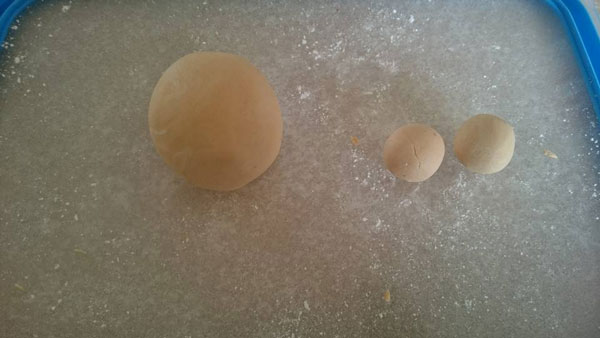
Separate out into three balls – enough for two hands and a head and set the “hands” aside.
Step 3
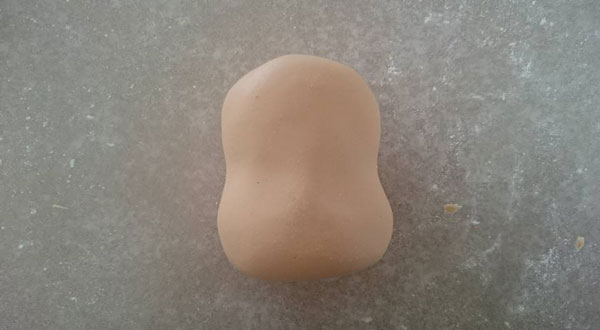
Working just on the head roll it into an oval shape and then work into a soft edged rectangle with a flatter bottom and rounder top. Lay the ball down on the “back” of Pocoyo’s head – because it will be covered with the hat it doesn’t matter if it’s a bit flat.
Then press lightly with your finger tip to form “eye sockets” just below the centre of the head and smooth around the side to form a slightly wider “cheeks” at the bottom.
Step 4
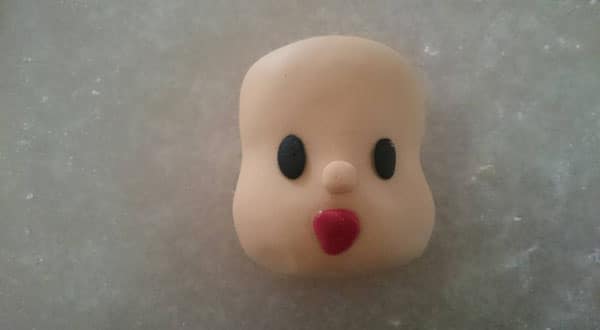
Pinch a very small piece of fondant from the “hands” and roll into a small ball. Use a tiny dot of water to attach slightly lower than the centre of the face. Now roll two small ovals of black fondant for the eyes (that look remarkably like mouse poop when they’re not attached to the face… just… if you were wondering…) and finally a soft cornered triangle for this mouth out of red.
Step 5
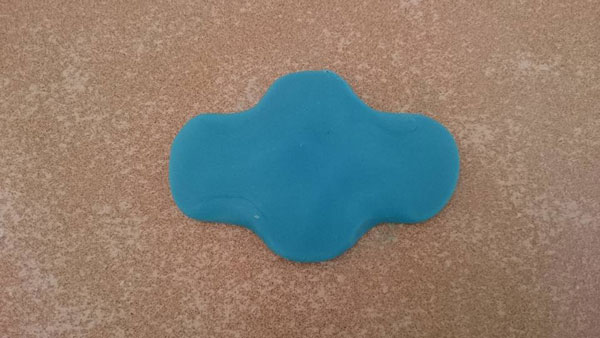
I’ve found the blue in the fondant from Coles is darker than this one from Woolworths – which was exactly the right blue straight out of the packet, if the blue is too dark mix in some pink to lighten it!
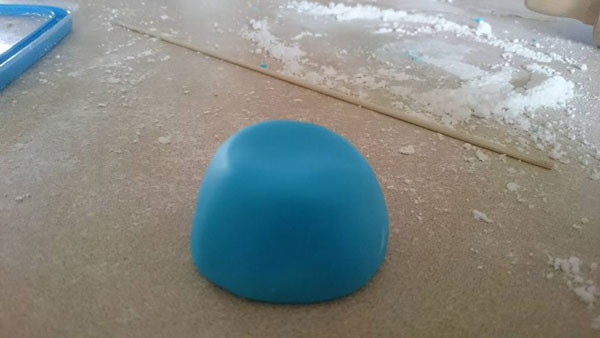
Roll out a piece of blue about half the the size of the head and form it into an oval shape. Now work into the shape above – to make ear flaps for the hat. Make the hat smaller than you’ll need (drape it carefully over the head to check for size) because it’ll stretch as you shape it down.
Step 6
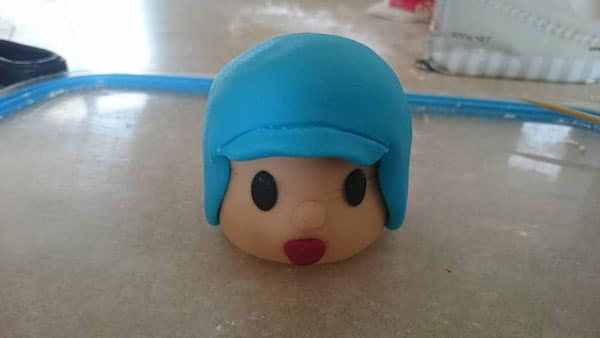
When you’re confident with the size and shape of the hat, lightly wet the top of Pocoyo’s head and lay the hat over the top. Gently rub the hat down around his head with small circular movements and gently stretch the hat down. The ear flaps should reach almost to the base of his head and the brim should be just above his eyes. Gently pinch out the front to form a very slight peak at the front of his cap and using a skewer draw a line across the front of it.
Step 7
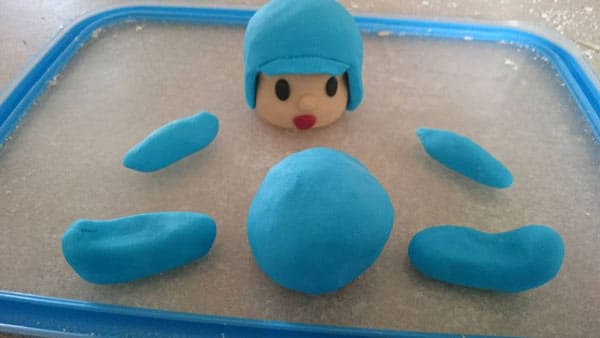
I had JUST enough blue to make the body, arms and legs, so i worked out the proportions of his body parts by roughly shaping them and comparing them to his head before I shaped them properly.
Step 8
For the body roll into a ball and then flatten the base against the table and work up into a bit of a cone shape – with a wider base and narrower top. Flatten and slightly curve the top down to form a secure resting place for the head. I made him a little bit shorter and fatter than in the cartoon so he would be more stable.
Check the shape and proportion with the head before wetting the top and sticking the head to the body. If you have them poke a couple of tooth picks into the body to slide the head on to to hold them together securely.
Also Ensure the lid or work surface is adequately dusted in corn flour or sugar before sitting Pocoyo on it, because he’ll be there for a while and you don’t want him to stick!
Step 9
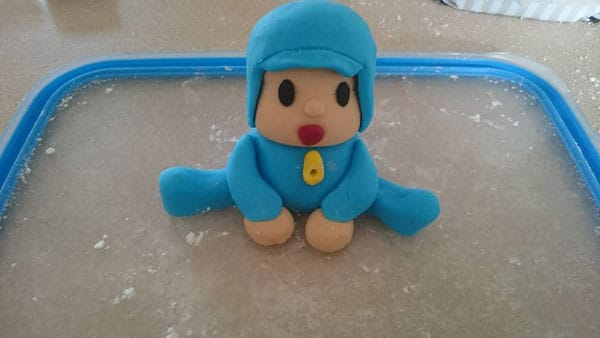
Finally shape the arms, legs and hands (I left the hands as balls because forming fingers was too fiddly for me!) attach to the body with small amounts of water. Last but not least roll a small yellow oval, poke a hole through the bottom and attach it to Pocoyo’s chest as a zipper.
And you’re done!
I will update on Sunday with the finished cake for ideas on how you can use this adorable (if I don’t say so myself) Pocoyo fondant cake topper!

Who else loves kids